Resin printing
Resin 3D printing in Sydney
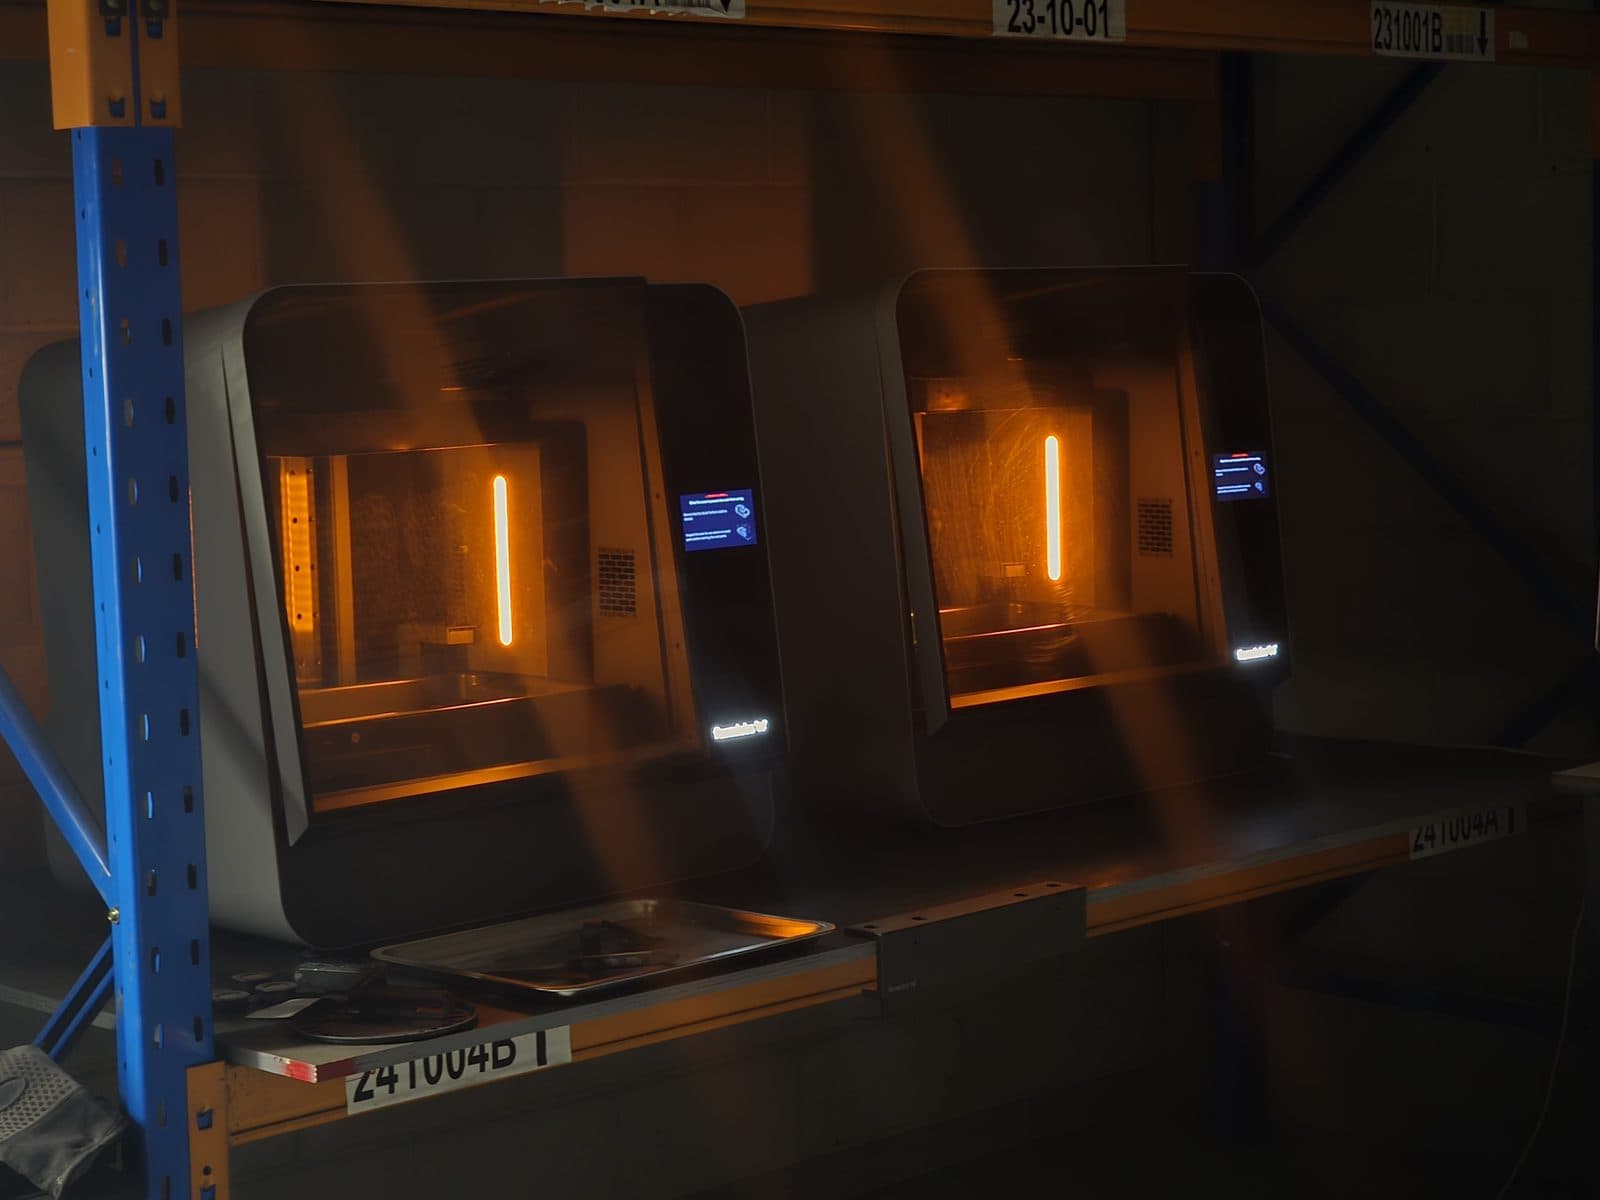
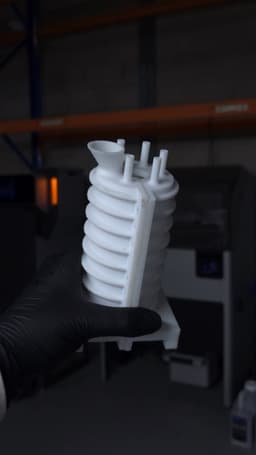
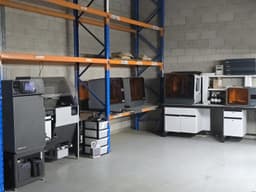
Resin printing, or SLA, uses a laser to harden liquid resin one layer at a time. The layers are so thin you can barely see them, so parts come out smooth with sharp edges and crisp text. We print on Formlabs Form 3L printers in our Sydney workshop, then wash and cure every part before it ships.
Printed in Sydney, usually within 1–3 business days, and shipped Australia-wide.
How resin printing works
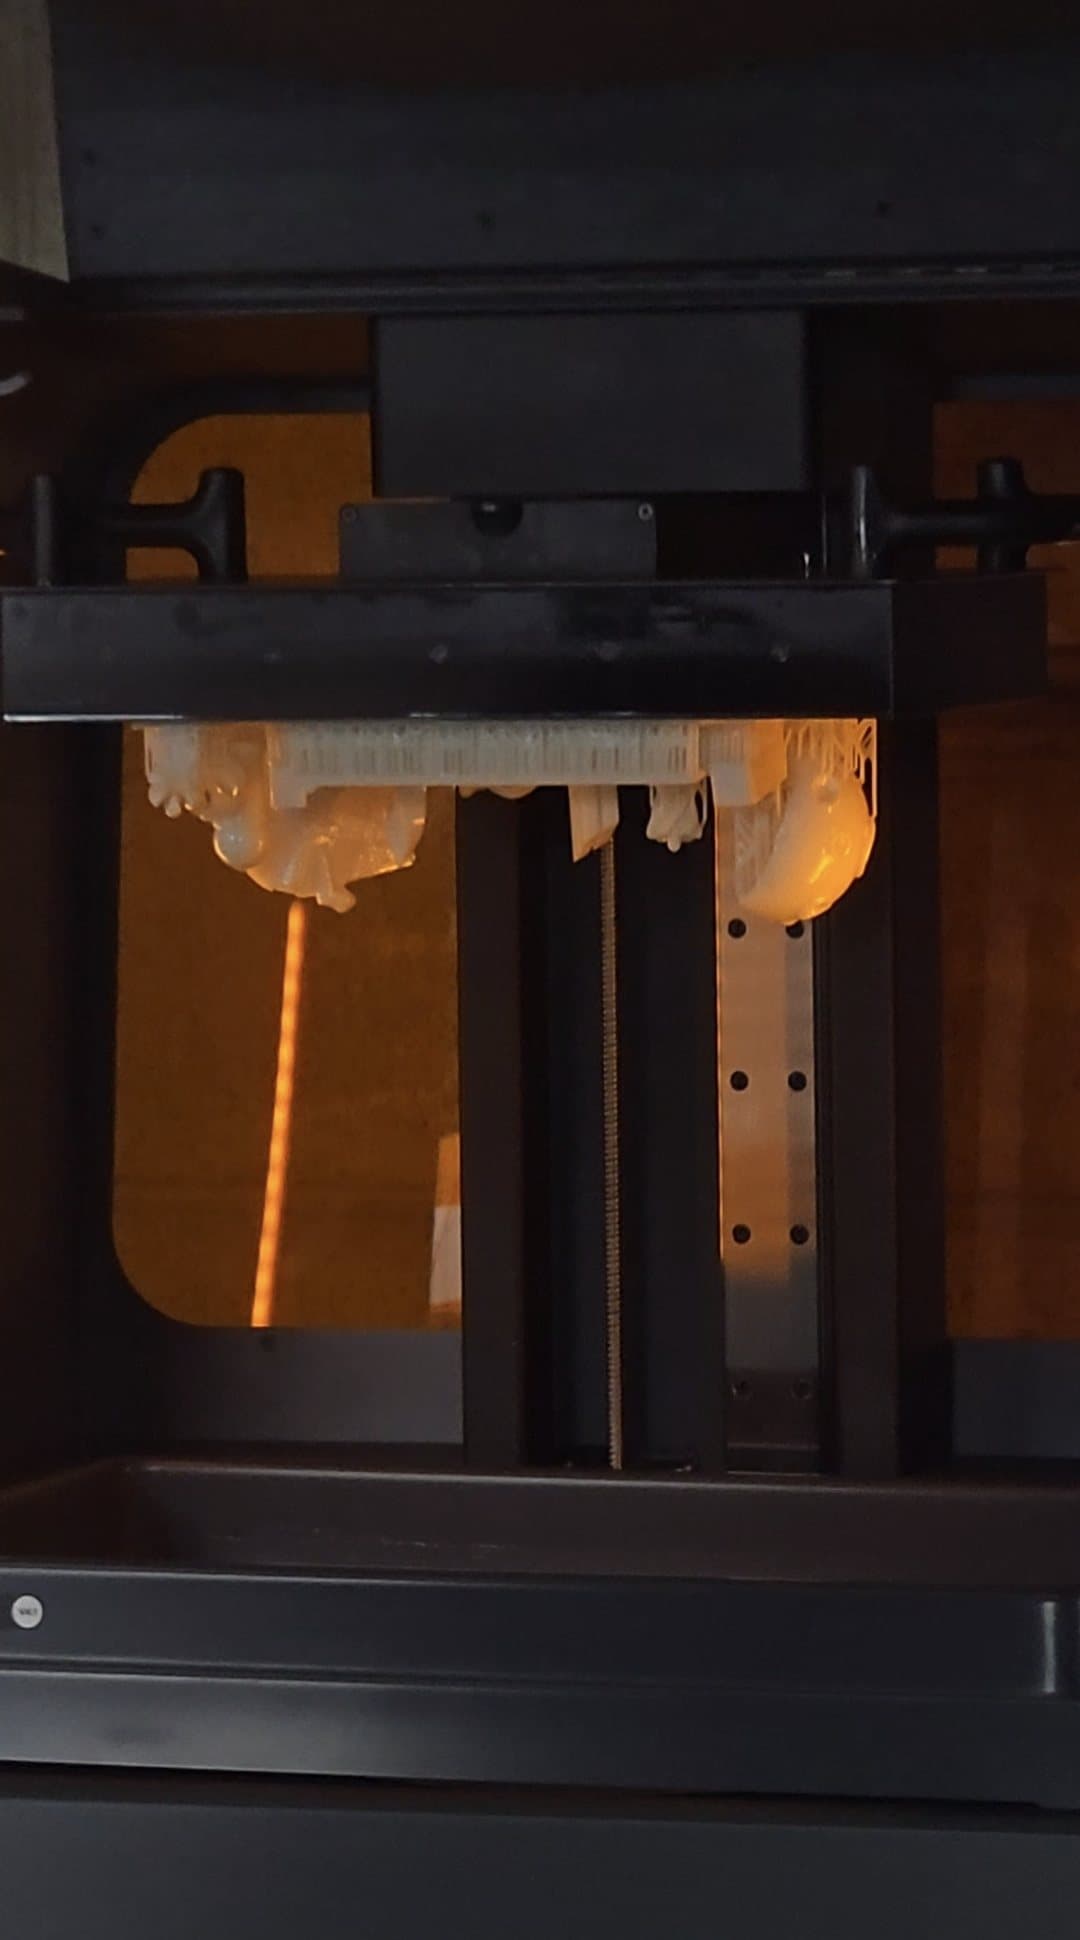
On a laser resin printer the part grows upside down. The build platform dips into a tank of resin with a clear, flexible film for a floor, and a laser fires up through the film, hardening the resin wherever it hits. The laser spot is about the width of a hair.
After each layer the platform lifts, fresh resin flows in and the next layer forms underneath. We print at 0.1 mm layers, which are already hard to see and still let a build finish overnight.
Peeling each layer free
Each layer hardens against the film, so it has to come free before the next one starts. A flexible film peels away gradually as the platform rises, like tape, so the part feels less force and needs lighter supports.
This is where most failed resin prints go wrong. Supports and the angle a part sits at are really about getting it through thousands of peels in one piece.
Laser or screen
Many resin printers light a whole layer at once through a screen. Ours draw each layer with a laser, which gives smooth curves and the same detail across the whole platform. The trade-off is speed on a full tray.
Washing and curing
A part straight off the printer is wet and only partly set. A wash station rinses it in alcohol for about 15 minutes, then lifts it out so thin sections don't soak and swell. After curing, we clip off the supports and tidy the spots where they touched.

Why curing matters
A curing unit turns the parts under UV light while heating them. That finishes hardening the resin and bonds the layers together, so a cured part is equally strong in every direction. It makes a big difference: in one maker's tests, a standard resin went from 38 MPa to 65 MPa with a full cure.
When resin is the right choice
Pick resin when a part has to look right: display models, figures, product mock-ups or anything with small text. It's also the best choice for a mould master, because every bit of surface finish carries into the copy.
Standard resin is stiff but stretches only about 6% before it breaks, so it snaps rather than bends. For parts that clip together or take knocks, SLS nylon is a better fit.
Designing a part for resin
Resin holds the finest detail of our three methods, but a few rules keep a print in one piece. A hollow part needs a drain hole, or trapped resin can crack it. Supports leave tiny bumps where they touch, so if one face has to stay clean, say so in the note and we'll keep them off it.
| Feature | Recommended |
|---|---|
| Wall joined to the part on several sides | At least 0.4 mm |
| Wall standing on its own | At least 0.6 mm |
| Overhang without supports | Up to 1 mm, at no less than 19° from flat |
| Holes | At least 0.75 mm, more if longer than 12 mm |
| Raised detail | 0.3 mm high, 0.4 mm wide |
| Engraved detail | 0.4 mm deep, 0.5 mm wide |
| Gap between moving parts | 0.5 mm |
| Drain hole in a hollow part | At least 3.5 mm across |
Large resin parts
Our resin printers take parts up to 335 × 200 × 320 mm, which is big for resin. A part that fills most of that space needs careful orientation and supports, so we quote it by hand instead of instantly.
Material
Standard Resin
Crisp detail and smooth finish, lowest cost
A rigid resin for detailed display models and visual prototypes, with a smooth surface finish. It is brittle and unsuitable for load-bearing parts, impact or repeated stress.
Colours:BlackDark GrayWhite
Colours shown on the quote page are the ones in stock today.
Specifications
- Printer
- Formlabs Form 3L
- Maximum part size
- 335 × 200 × 320 mm
- Materials
- Standard Resin
- Layer height
- 0.1 mm
- Accuracy
- ±0.5%, or ±0.2 mm on small parts
- Finish
- Smooth, washed and UV cured
- File formats
- STL, STEP, OBJ, 3MF, GLB and GLTF, up to 50 MB
SLS, resin and FDM compared
Not sure this is the right method? Upload your file and every method shows a starting price, so you can weigh them up.
| Resin 3D Printing | SLS 3D Printing | FDM 3D Printing | |
|---|---|---|---|
| How it builds | A laser hardens liquid resin | A laser fuses nylon powder | A hot nozzle lays down melted plastic |
| Layer height | 0.1 mm | 0.11 mm | 0.2 mm, down to 0.12 mm |
| Supports | Thin supports, leaving small marks | None | Only under steep overhangs |
| Surface | Smooth, layers hard to see | Fine sandy matte | Visible layer lines |
| Strength by direction | The same every way once cured | Nearly the same every way | Weakest across the layers |
| Handles heat | Poorly, in standard resin | Well, 113 °C under load | 54 °C (PLA) to 92 °C (ASA) under load |
| Accuracy | ±0.5%, at least ±0.2 mm | ±0.5%, at least ±0.3 mm | ±0.5%, at least ±0.5 mm |
| Largest part | 335 × 200 × 320 mm | 165 × 165 × 300 mm | 400 × 400 × 400 mm |
| Best for | Display models, fine detail, mould masters | Working parts, moving assemblies, short runs | Low-cost prototypes, big parts, jigs |
Resin 3D Printing questions
Will I see layer lines on a resin print?
How big can a resin part be?
Are resin prints strong?
More answers on our FAQ page.
More from the workshop
Get your Resin 3D Printing price
Upload your 3D model and see the price in seconds. No account needed.
Get an instant quote