FDM printing
FDM 3D printing in Sydney
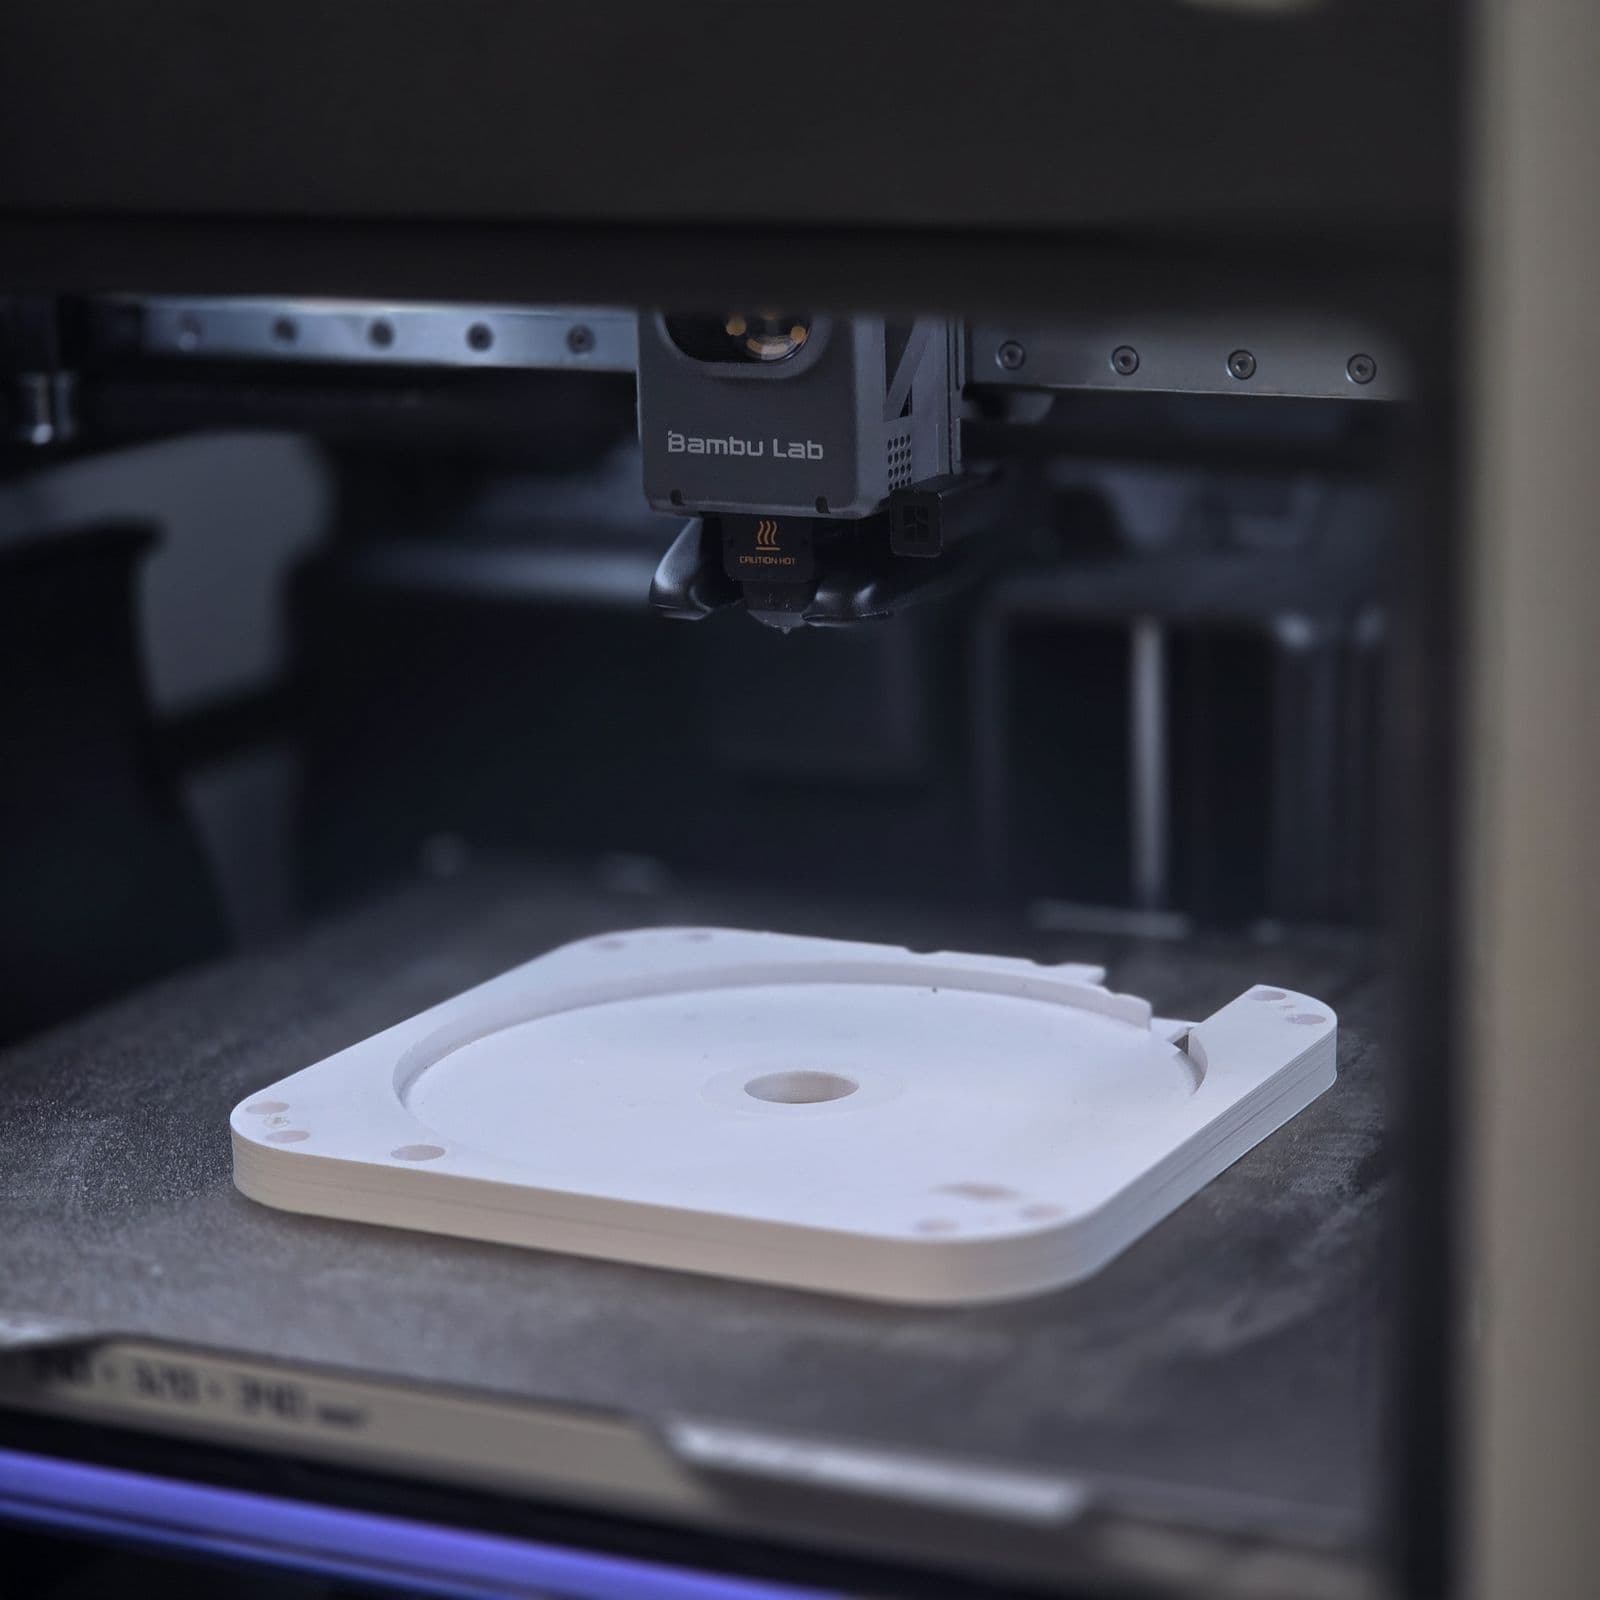
FDM printers build a part from melted plastic, one line and one layer at a time. It's the most affordable way to 3D print and handles the biggest parts, so most prototypes, brackets, enclosures and one-off fixes start here. We print FDM parts in our Sydney workshop and ship them Australia-wide.
Printed in Sydney, usually within 1–3 business days, and shipped Australia-wide.
How FDM works
Filament comes off a spool and gears push it into the hot end, where it melts at 200 °C or more. A 0.4 mm nozzle lays it down as a thin bead, tracing each layer's outline and then filling it in. The next layer goes on while the one below is still warm enough to bond.
Standard quality uses 0.2 mm layers. Finer 0.16 mm or 0.12 mm layers give a smoother surface but cost more, because the part takes more layers.
Heat and dry filament
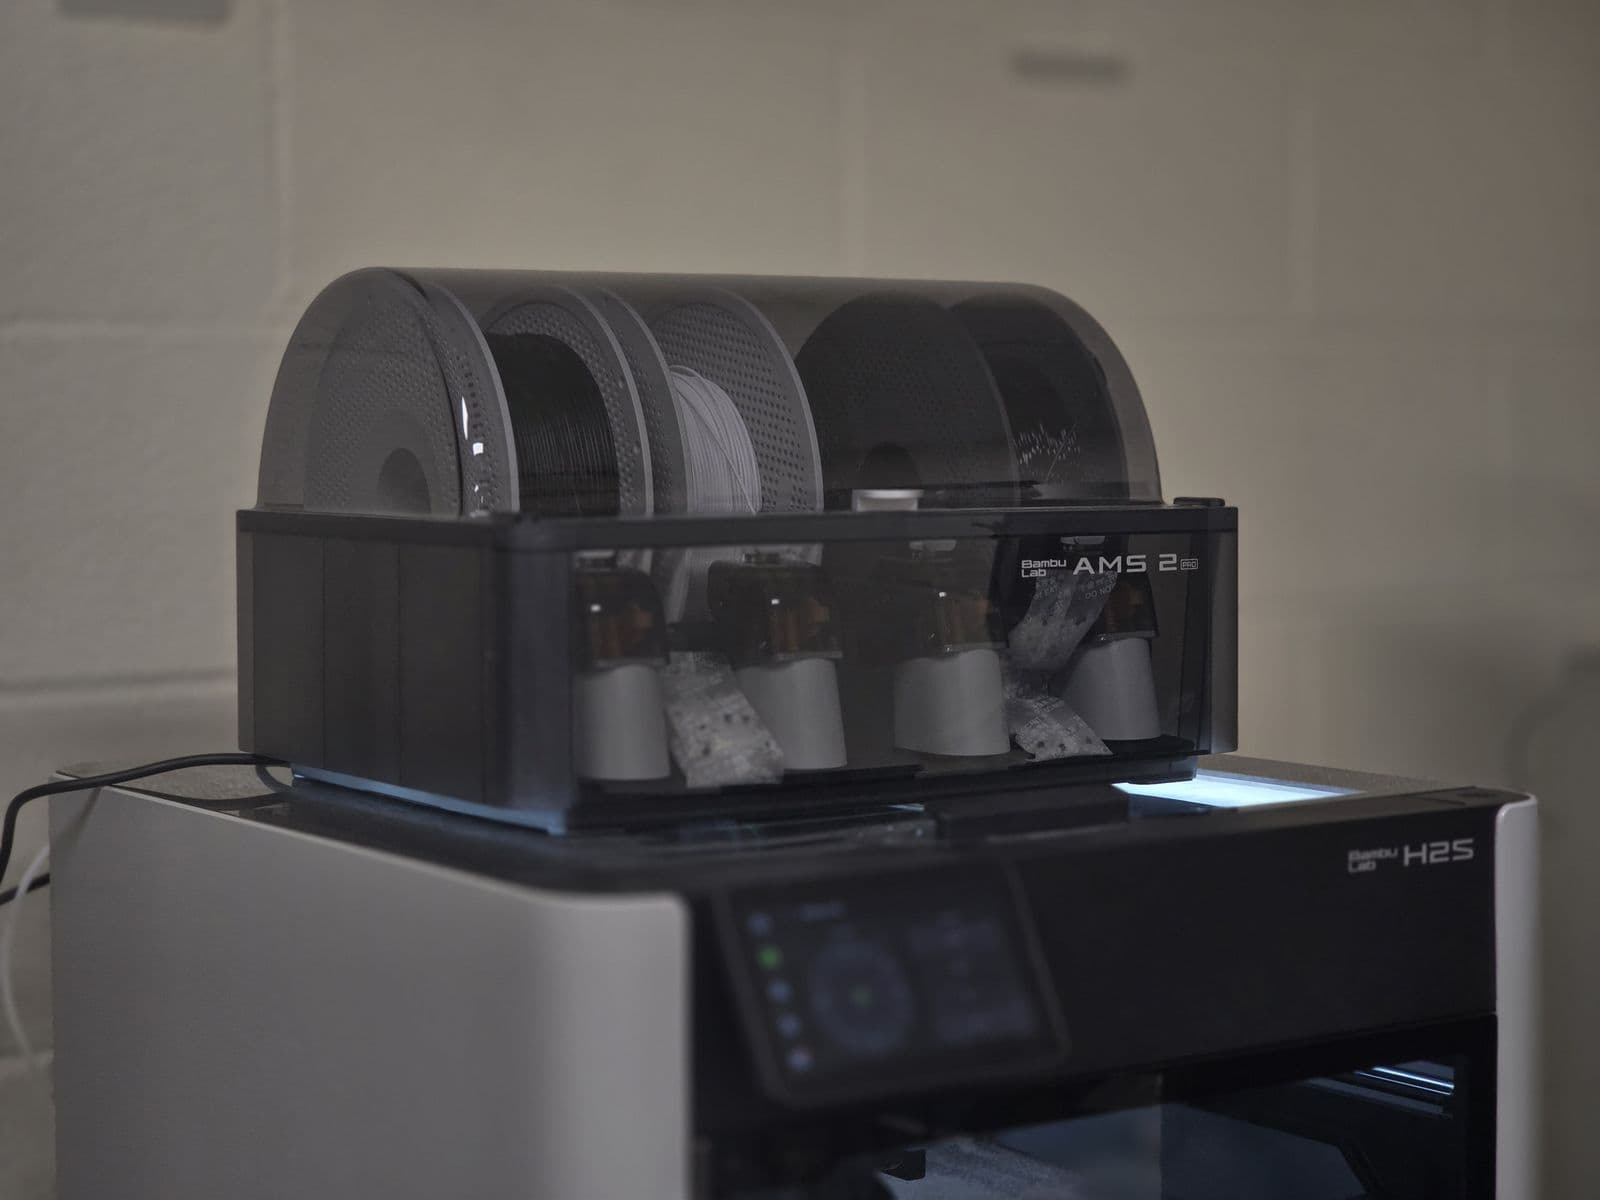
Our FDM printers have an enclosed, heated chamber, which ASA needs to print without warping, and they feed filament from sealed boxes that keep it dry. Damp filament prints stringy and weak. The biggest part we can print in one piece is 400 × 400 × 400 mm.
Inside a printed part
An FDM part isn't solid plastic. It has walls around the outside, solid skins top and bottom, and a lattice called infill in the middle. Most of the strength is in the walls, while the infill holds up the top and stiffens the part without the weight of solid plastic.
The strength options on the quote page add walls and infill. More of either makes a heavier, tougher part, and the price updates as you change them.
Why direction matters
Each layer fuses to the one below, but that join is never quite as strong as the plastic along a bead. PLA tests at about 35 MPa across its layers against 39 MPa along them. For a sharp knock the gap is far bigger: an ASA bar struck across its layers takes about an eighth of the blow it survives the other way.
So a bracket printed standing up can split along a layer under a load it would carry lying flat. Pick an orientation on the quote page, or leave a note about which way the force goes, and we'll lay the layers to suit.
Overhangs and bridges
Every layer needs something underneath it. A wall leaning out up to about 45° prints cleanly, but past that the plastic droops and needs supports. A flat bridge between two points prints cleanly up to about 5 mm.
We use tree supports where they help, since they touch the part in fewer places. The first layer is pressed onto the plate to grip, which can flare the bottom edge slightly, and a small chamfer there hides it.
Choosing a material
PLA is the default. It prints cleanly, comes in the most colours and costs the least, but it softens in the mid 50s °C, so a PLA part left on a car dashboard in summer will sag.
PETG is tougher and handles more heat, so it's the usual pick for working parts like brackets and clips. ASA takes the most heat and holds up in sunlight, so use it for anything that lives outdoors. None of them is certified food safe once printed.
| Material | Softens under light load | Softens under heavy load |
|---|---|---|
| PLA | 57 °C | 54 °C |
| PETG | About 69 °C | Not published |
| ASA | 100 °C | 92 °C |
Jigs, fixtures and mounts
Some of the most useful things we print never end up in a product. Drilling guides, assembly fixtures and camera mounts are quick to print in PETG or ASA, and cheap to reprint when the design changes.
Designing a part for FDM
Small details are the hard part for FDM, because nothing can be thinner than the line of plastic the nozzle lays down.
| Feature | Recommended |
|---|---|
| Wall thickness | At least 0.8 mm |
| Text and fine detail | Lines at least 0.6 mm wide, letters 2 mm tall or more |
| Overhangs without supports | Up to about 45° from upright |
| Bridges without supports | Under about 5 mm |
| Pins | Weak under 5 mm across; use a bought pin if it takes load |
| Holes that must be exact | Print slightly small; drill them to size |
| Edges on the build plate | A small 45° chamfer |
After printing
We take the part off the plate, remove any supports and clean up stringing, then check it before packing. We don't sand, fill or paint FDM parts, so they arrive as printed.
Example price
A real quote from our quote page. Your price depends on your part's size, material and settings, so upload your file for an exact price.
Overflow tray
$14.96
for 1 part
- Material
- PLA, black, 0.2 mm layers, 20% infill
- Size
- 188 × 66 × 15 mm
Includes the one-off setup charge. Standard shipping $9.95 Australia-wide, free on orders of $50 or more. Quoted in October 2026; prices can change.
Materials
PLA
Everyday parts and prototypes, lowest cost
PLA suits prototypes, display models and everyday parts. Avoid it for parts exposed to heat above about 55 °C or outdoor use.
Colours:BlackBlueDark GrayGreenOrangePinkRedWhiteYellowIvoryCharcoalNavyCyanIce BlueMintLemonPeachTerracottaMagentaPastel PinkLilacSilk GoldSilk SilverSilk Rose GoldSilk BlueSilk RedSilk GreenCopperWhite MarbleRed GraniteBlack SparkleGalaxyGlow in the DarkSilk Blue and GreenSilk Blue and BlackSilk RainbowSilk Gold, Green and BlueSilk Red and BlackSilk Orange and PinkSilk Red and GreenPink to LilacLavender to AquaBlue and PurpleMatcha GreenPastel RainbowPETG
Tougher, more heat- and impact-resistant
PETG is more heat- and impact-resistant than PLA. It suits functional parts such as enclosures, brackets and mounts.
Colours:BlackBlueGreenRedWhiteYellowASA
UV-stable, for outdoor and automotive parts
ASA is a UV-resistant plastic for outdoor parts and enclosures, with properties similar to ABS.
Colours:BlackWhite
Colours shown on the quote page are the ones in stock today.
Specifications
- Printers
- Bambu Lab H2S and Creality Ender 5 Max
- Maximum part size
- 400 × 400 × 400 mm
- Materials
- PLA, PETG, ASA
- Layer height
- 0.2 mm, or 0.16 mm and 0.12 mm
- Accuracy
- ±0.5%, or ±0.5 mm on small parts
- Finish
- Visible layer lines, supports removed
- File formats
- STL, STEP, OBJ, 3MF, GLB and GLTF, up to 50 MB
SLS, resin and FDM compared
Not sure this is the right method? Upload your file and every method shows a starting price, so you can weigh them up.
| FDM 3D Printing | SLS 3D Printing | Resin 3D Printing | |
|---|---|---|---|
| How it builds | A hot nozzle lays down melted plastic | A laser fuses nylon powder | A laser hardens liquid resin |
| Layer height | 0.2 mm, down to 0.12 mm | 0.11 mm | 0.1 mm |
| Supports | Only under steep overhangs | None | Thin supports, leaving small marks |
| Surface | Visible layer lines | Fine sandy matte | Smooth, layers hard to see |
| Strength by direction | Weakest across the layers | Nearly the same every way | The same every way once cured |
| Handles heat | 54 °C (PLA) to 92 °C (ASA) under load | Well, 113 °C under load | Poorly, in standard resin |
| Accuracy | ±0.5%, at least ±0.5 mm | ±0.5%, at least ±0.3 mm | ±0.5%, at least ±0.2 mm |
| Largest part | 400 × 400 × 400 mm | 165 × 165 × 300 mm | 335 × 200 × 320 mm |
| Best for | Low-cost prototypes, big parts, jigs | Working parts, moving assemblies, short runs | Display models, fine detail, mould masters |
FDM 3D Printing questions
Which FDM material should I choose?
Will FDM prints have layer lines?
How big can an FDM part be?
Is FDM the cheapest way to 3D print?
More answers on our FAQ page.
More from the workshop
Get your FDM 3D Printing price
Upload your 3D model and see the price in seconds. No account needed.
Get an instant quote